What I Know About Planting Bulbs
I know it’s only Autumn but it’s time to start thinking about Spring and what colours and blooms you want to see pop up after the winter months are over.
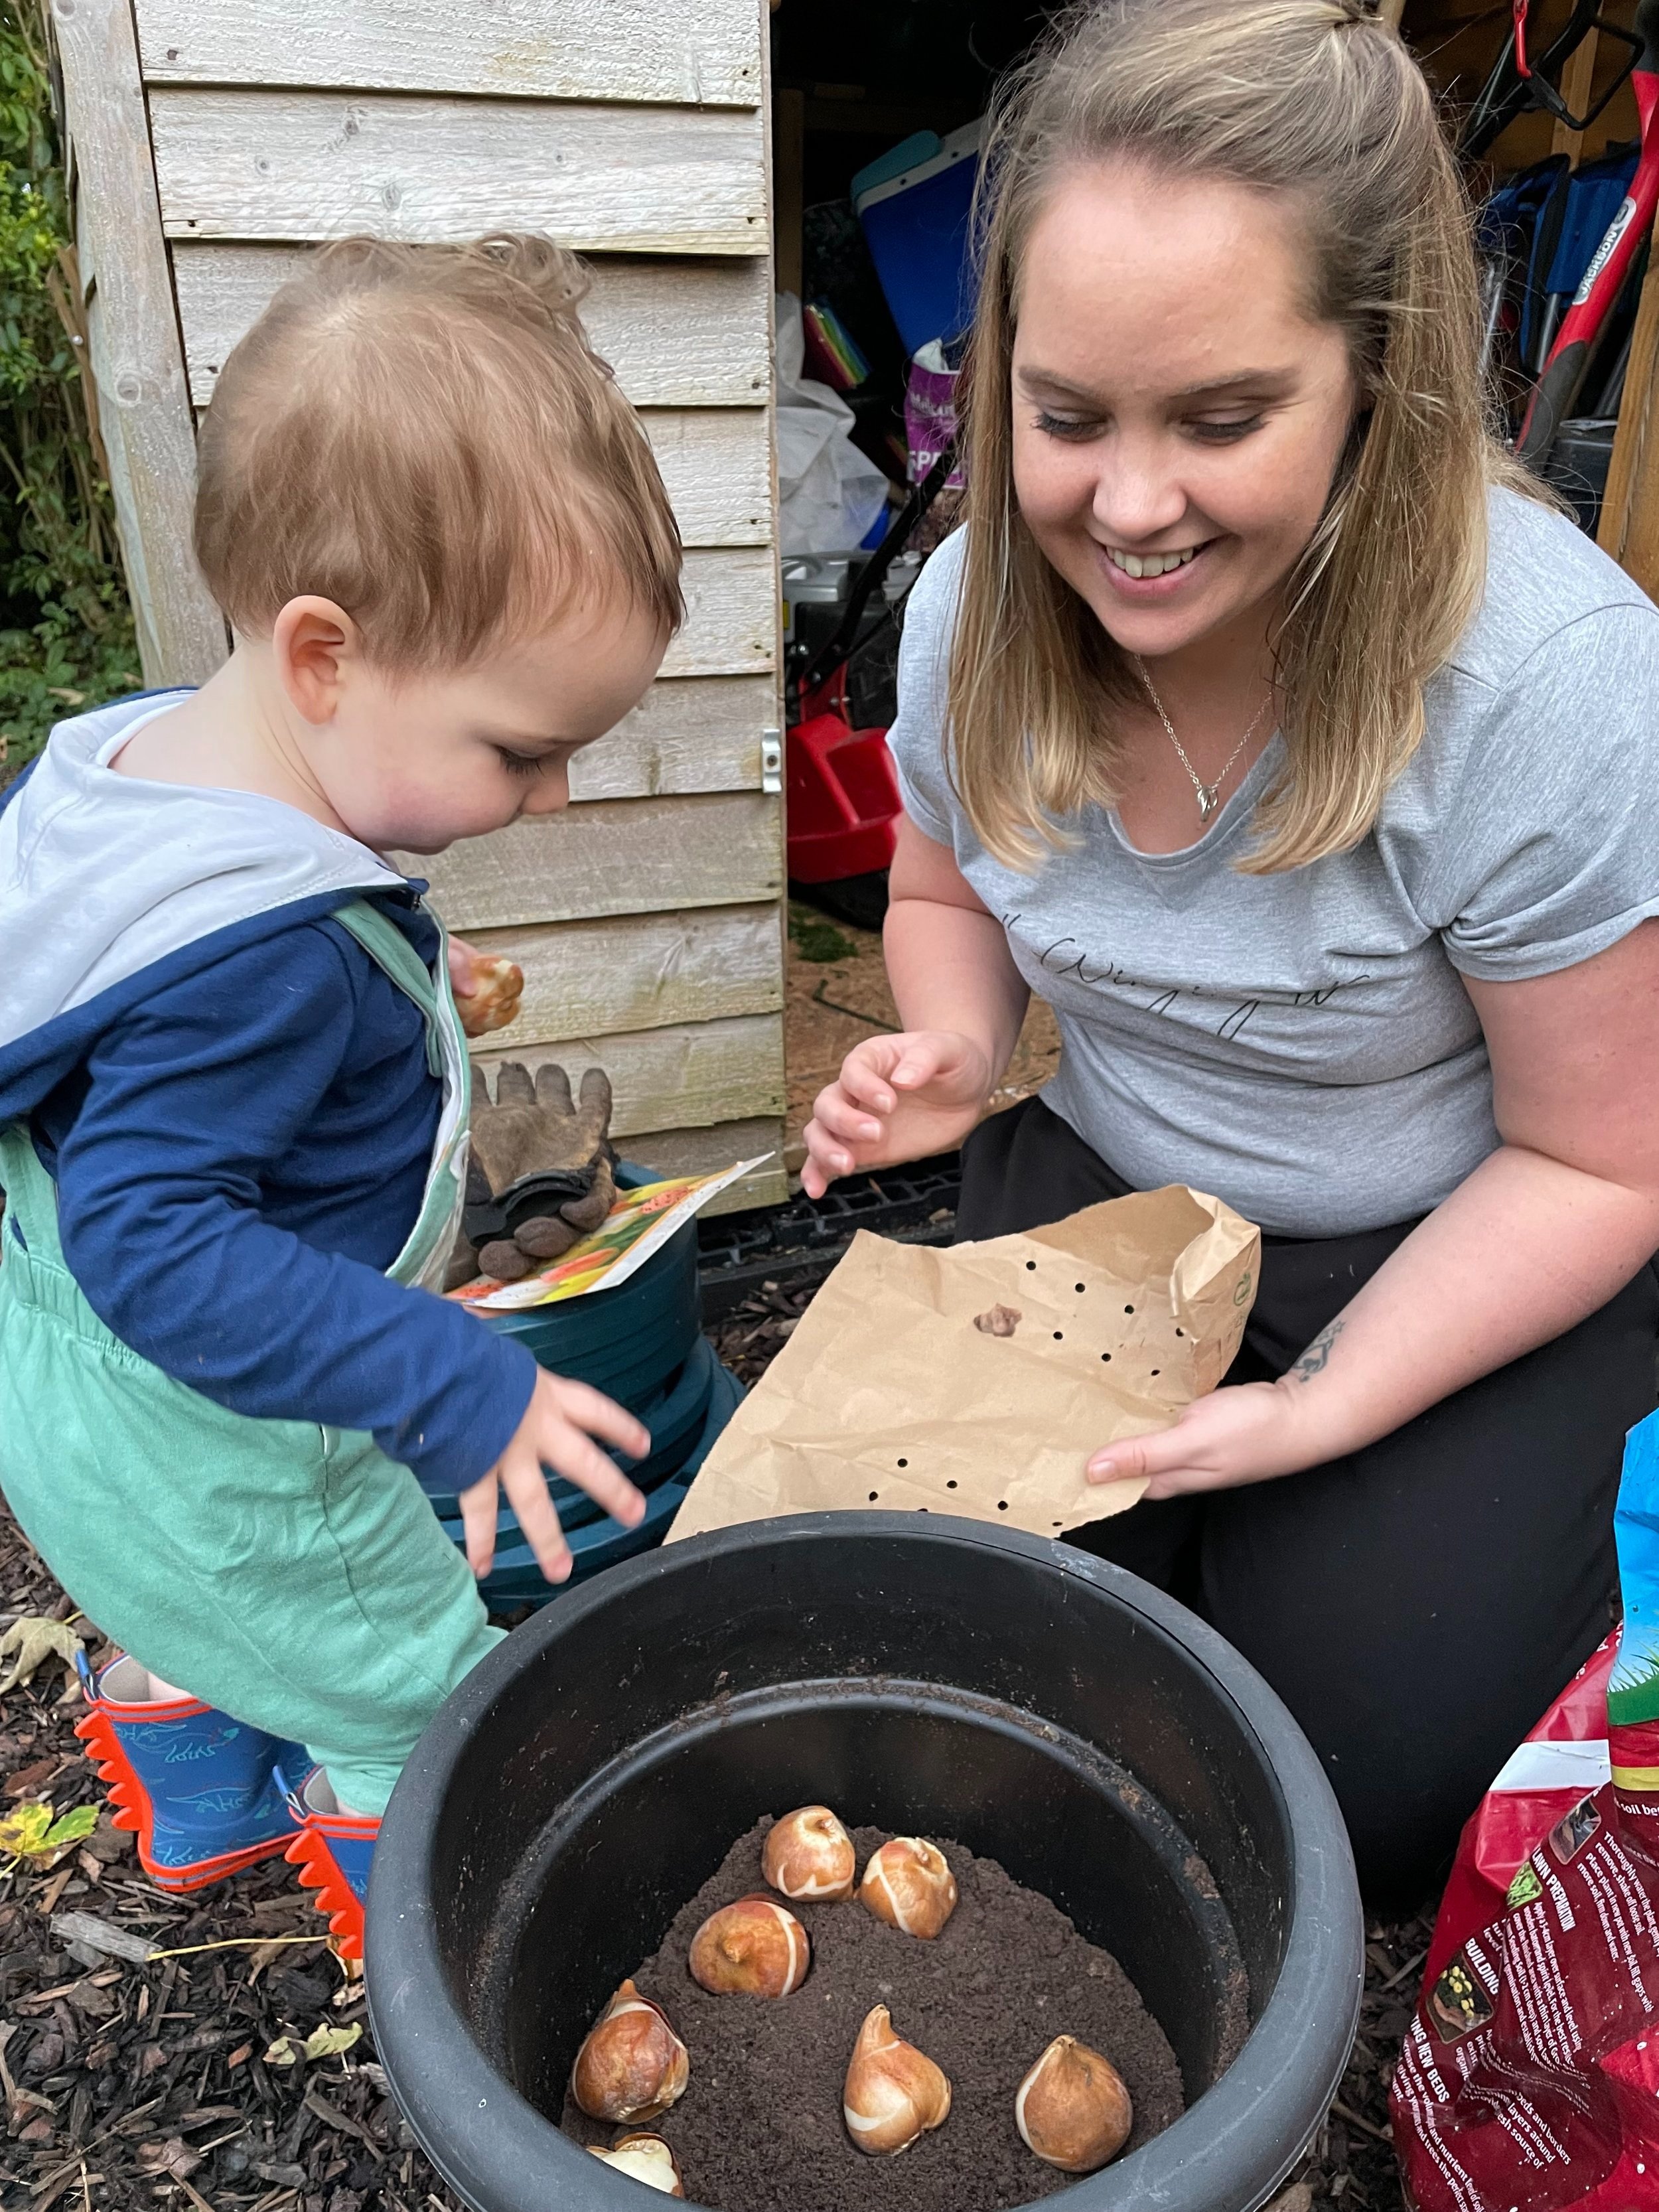
Bulbs are a fantastic secret weapon in the garden. They bring the first colour after the dark winter months, and if you don’t have ground for them, they work well in containers, keeping things in use all year round on a good rotation (I use the pots I grow tomatoes in for bulbs in the alternative half of the year!).
Bulbs are also super space savers too, hidden away when they aren’t growing or flowering and they die right back and out of sight making way for summer flowers to take over without competing for space and light.
I’m all about the easy life and short cuts, and bulbs are a true ‘minimal effort, maximum output’ addition to the garden.

WHAT BULBS TO PLANT
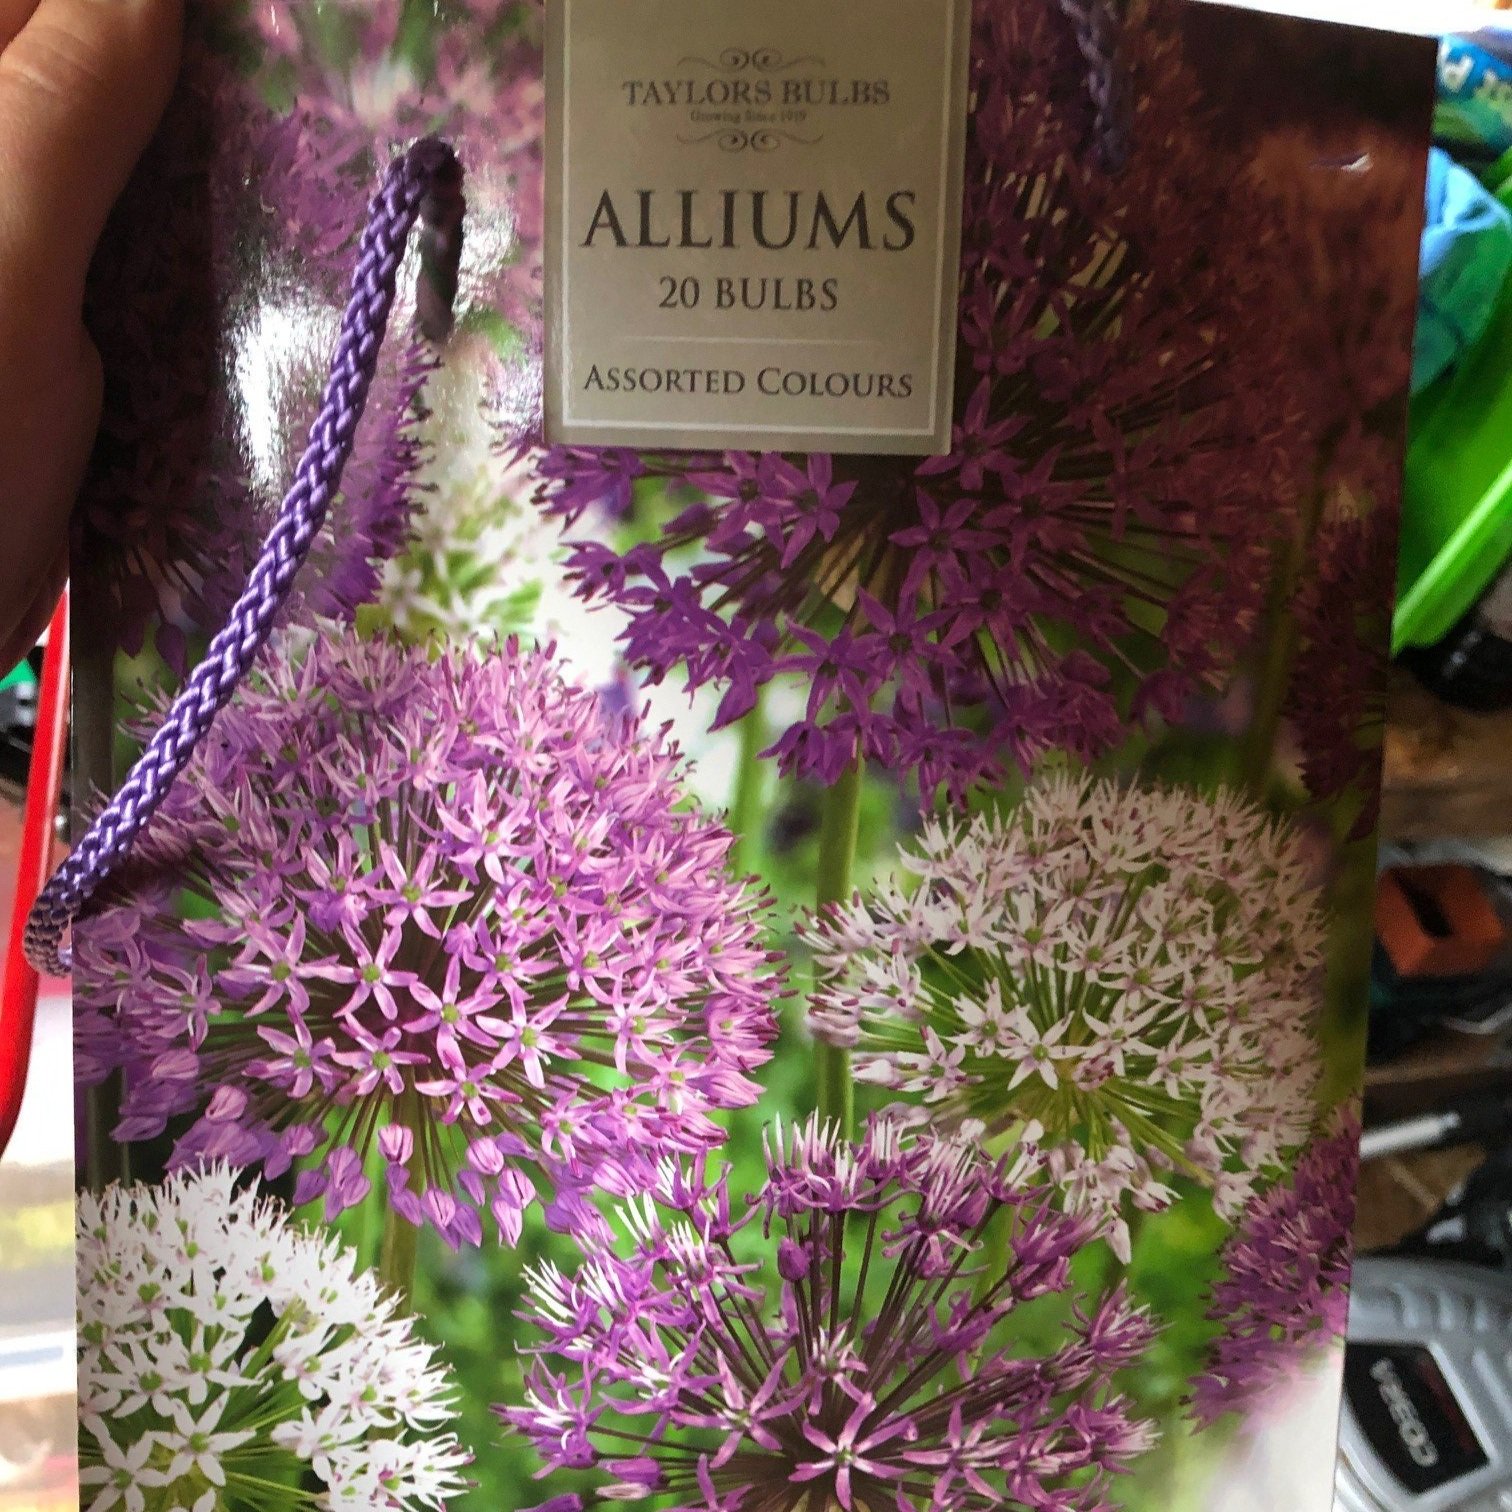
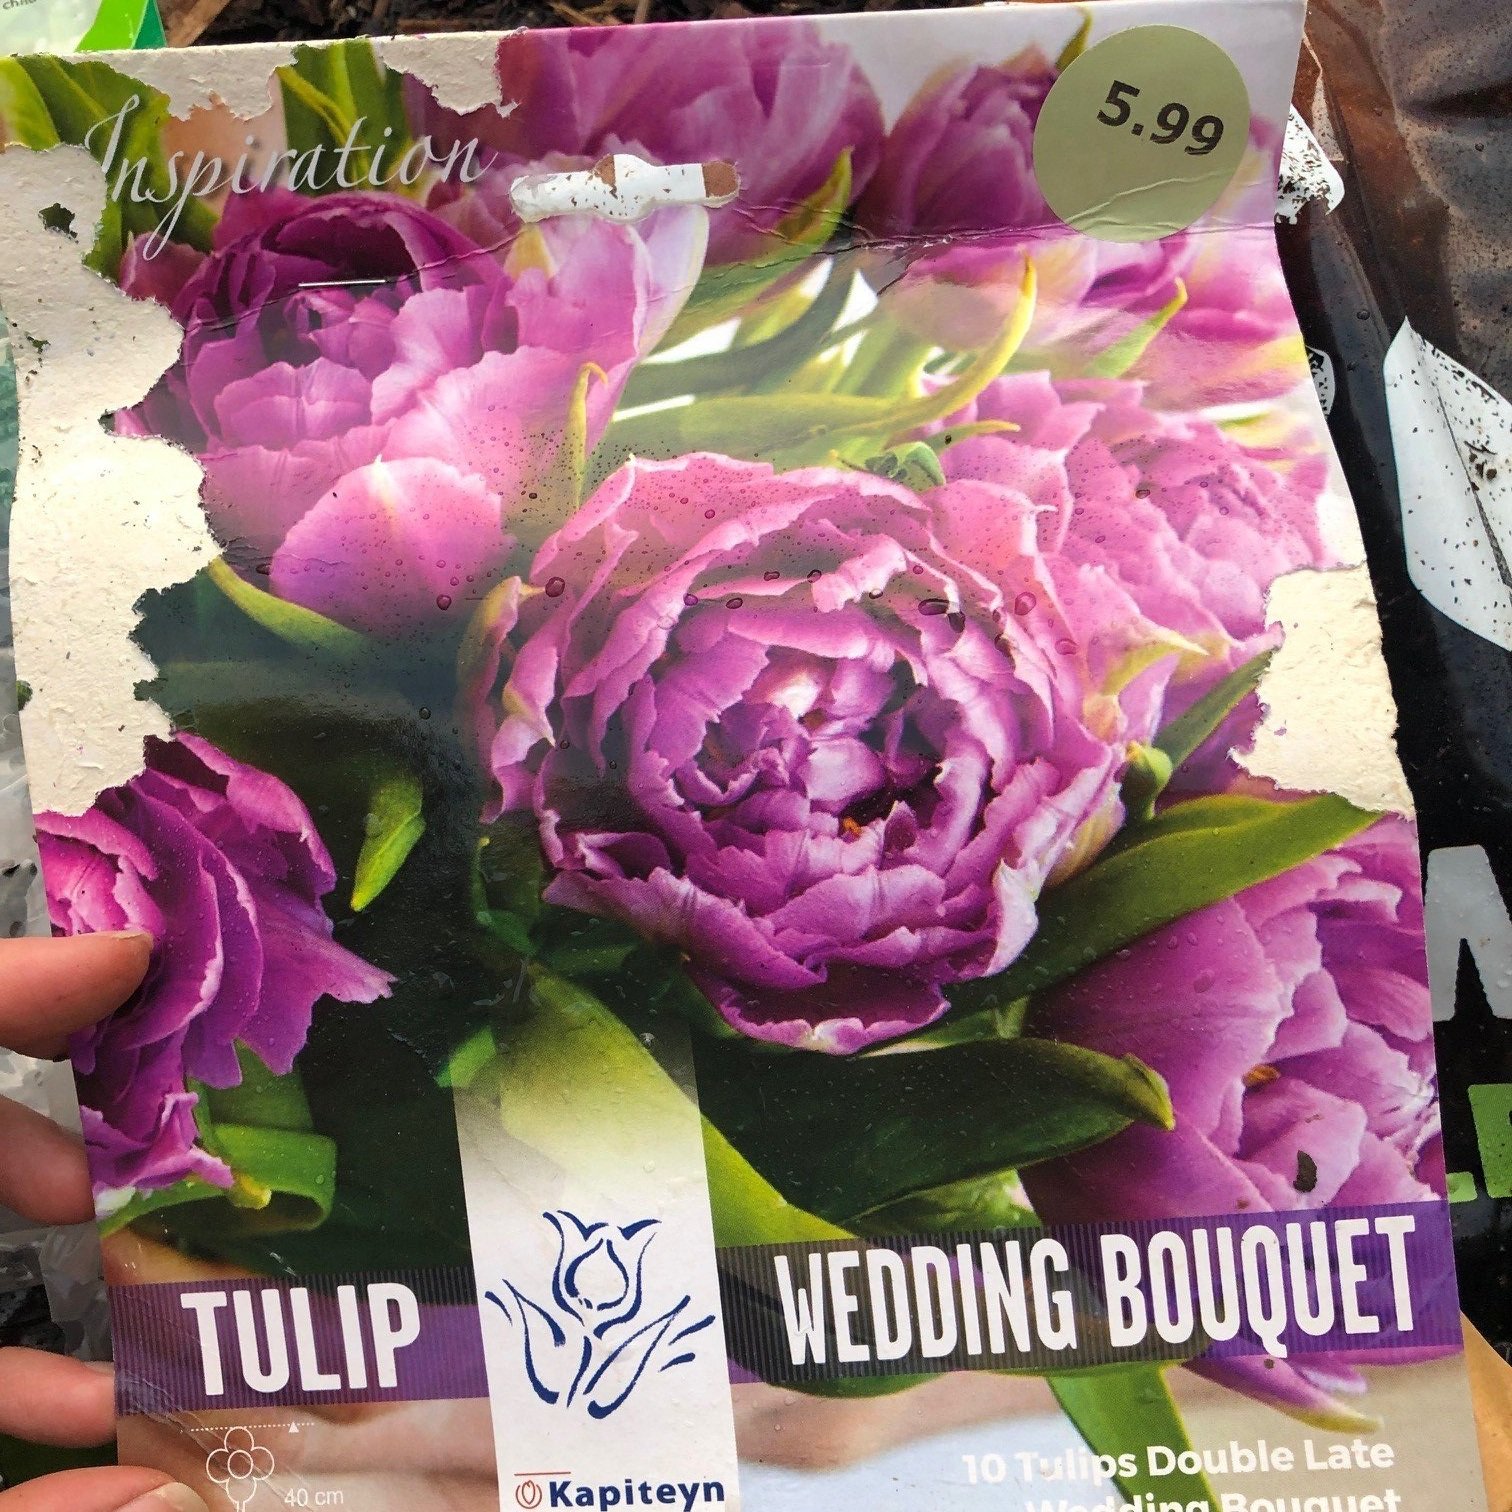
Bulbs come in many shapes and sizes and types. To name a few you’ve got daffodils, tulips, alliums, snowdrops, hyacinths, Iris, fritillaria, crocus, anemones and so many more. Not to mention each of those has a range of colours, patterns and looks to pick from! Don’t skimp on the quantity either, you’ll need to plant a minimum of 6 bulbs closely together to get a good display in each spot – so fill your garden, and don’t think that 25-50 bulbs is excessive.
You can do anything when you plant your garden with bulbs – pick and mix your colours, theme containers, or stagger your borders. When planning and picking check the expected heights of the flowers and the spacing the bulbs require so you don’t over or under fill an area or container. Think big, think bright and think beautiful!
WHERE TO BUY BULBS
Garden centres and even supermarkets sell bulbs in Autumn, but some of my favourite small businesses that sell bulbs are:

WHEN TO PLANT BULBS
Autumn! It’s one of the last jobs of the gardening season. A job that gets you excited for what the next year will bring, and gets you planning the view from your window. Read your bulb packs carefully and select a range of early spring and late spring bloomers to keep the colour lasting longer.
I don’t think there are any strict rules for planting, but as a guide and to spread the bulb planting through the weeks, according to the RHS you could:
Plant spring-flowering bulbs, such as daffodils, crocus and hyacinths, by the end of September
Plant hardy summer-flowering bulbs, such as lilies, alliums and crocosmia, in September and October
Plant tulips in November
Once you’ve bought bulbs plant them as soon as possible for the best chance of strong growth, so pop to the garden centre or place your order online when you know you’ll have some time to get them into the garden shortly afterwards.

WHERE TO PLANT BULBS
Bulbs are great for gardens, meadows, borders and containers – there really is no excuse for not having some bulbs planted somewhere. Most bulbs prefer sun, but it doesn’t have to be direct, so don’t worry if your patch for this project is a little shady – things will still grow! Bulbs most often flower in spring which means other plants and trees won’t be casting as much shade as they do later in the year so bulbs will get more light than you think.
Naturalising is a term for planting bulbs to bloom at ground level in a way that looks like the work of nature. It’s a technique mostly used for lawns, wild meadows or verges and refers most often to daffodils, crocus and snowdrops. You’ll find catalogue and websites sections dedicated to bulbs for naturalising in grass and shade. To effectively naturalise an area scatter or drop the bulbs across the ground and plant them where they fall – it couldn’t be easier!
Bulbs left in the ground all year round will multiply meaning you won’t need to keep adding more each year (unless you want to!). If you lift and store your bulbs from containers then they will last a few years if stored properly (see below) and eventually may go a bit soft and need replacing.

HOW TO PLANT BULBS
Bulbs generally like a mixed soil with good drainage, preferably a mix of clay, sand, silt and organic. This mix should allow roots to grow easily, and water to drain through and not rot the bulbs. If you don’t know what your soil type is don’t worry, just plant some bulbs and see what happens - I love a trial and error experiment. You can enrich your ground soil with special bulb fibre compost by Miracle-Gro but it’s not essential.
In a container, plant bulbs in multi-purpose compost mixed with some grit if possible, and feed them every couple of weeks with tomato feed after winter.
My garden soil is quite clay based – bulbs grow fine but planting them is a tough job so I use a drill and this Garden Auger Spiral Drill Bit which was a total game changer this year!

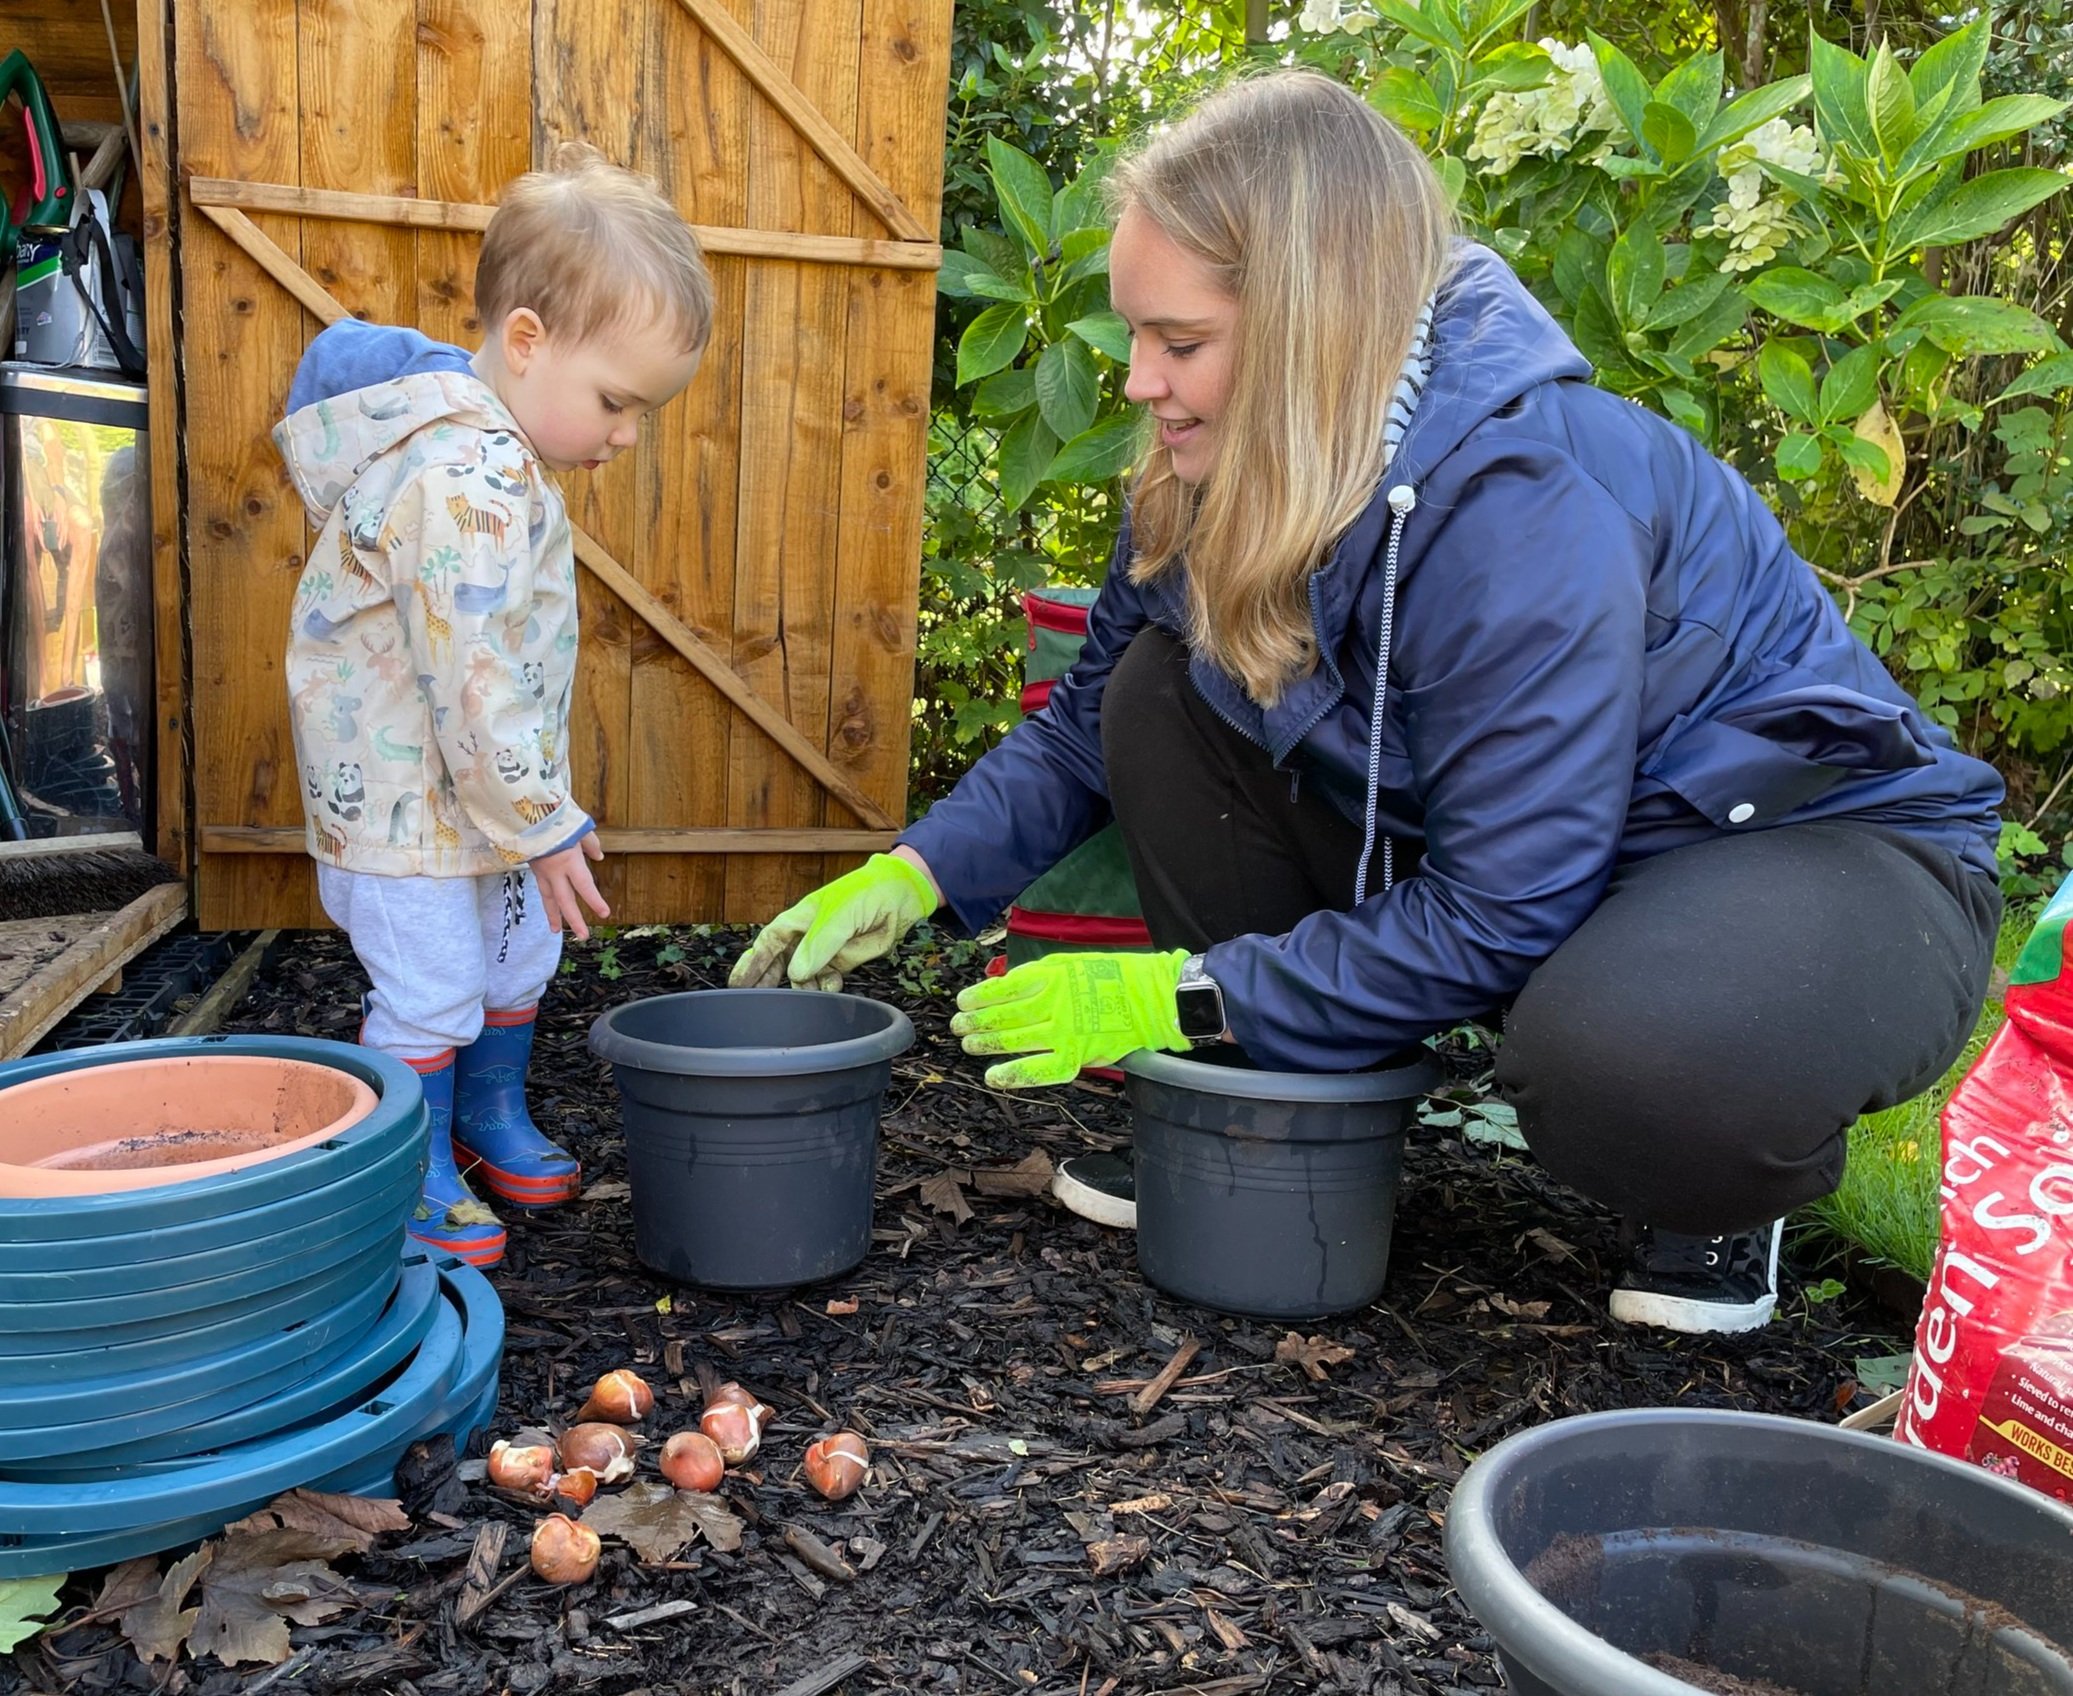
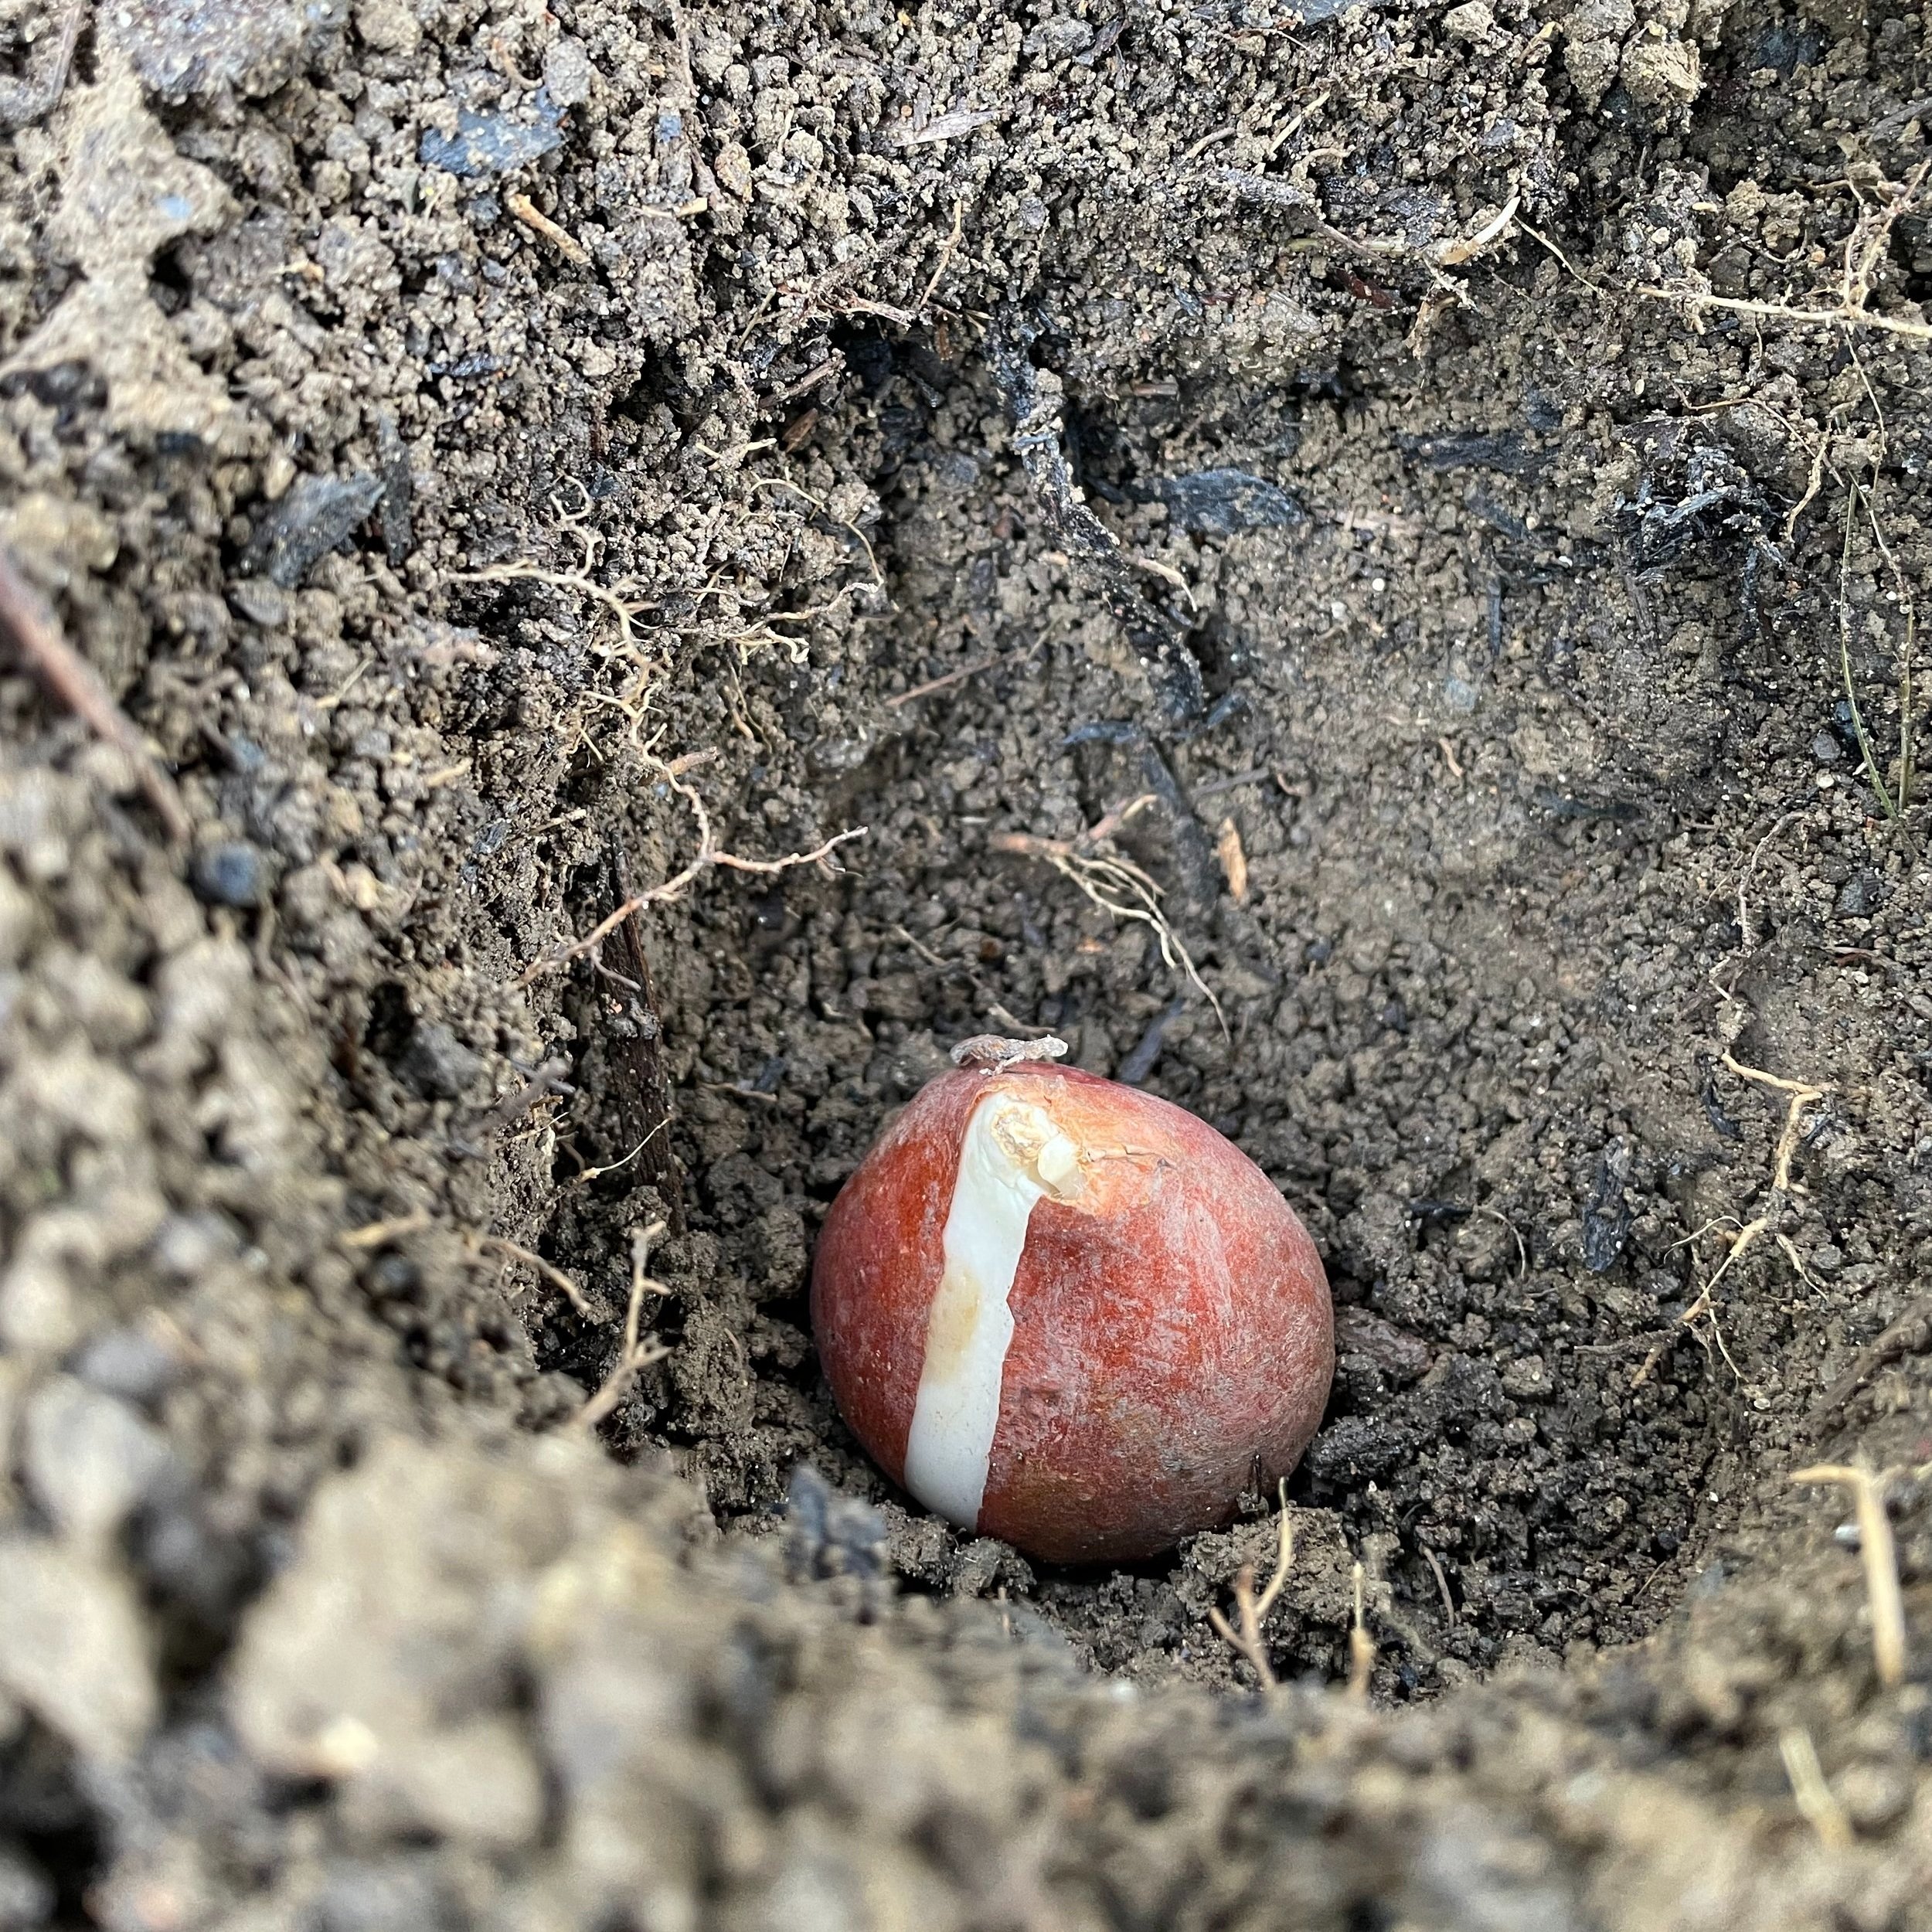
As a rule of thumb, plant bulbs three times their depth, and roughly one bulb width apart – but every packet of bulb you buy or order should have some guidance in case they need extra depth or space. If you are tight on space or restricted to containers, don’t fear. Monty Don did a brilliant segment on Gardeners World about planting a ‘Bulb Lasagne’, with flowers that will bloom sequentially and give you ‘maximum flower power in a small space’. Watch it here.

Image taken from https://www.dailymail.co.uk/home/gardening/article-7575629/Theres-MONTY-DON-loves-filling-pot-bulbs.html
HOW TO LIFT AND STORE BULBS
Unless you are really tight on garden space then I wouldn’t recommend lifting bulbs out from the ground. Leave them and let them multiply and stay dormant once they’ve done their thing in spring.
I like to rotate what is in some of my containers on my decking, and ensure I’ve got colour and beauty right outside my window. I plant some bulbs in pots I also use for tomato plants later in the year, so I’m utilising them all year round.
Once bulbs have finished flowering you will need to keep feeding and watering them whilst you wait for the leaves to go yellow and wilted. Dead head the flowers once the petals have fallen so ensure any growth and goodness remains in the bulbs until they go dormant.
About six weeks from the end of the bloom everything should be died right back and be ready to be lifted from the soil. It’s usually around May time that you can lift bulbs and start using the containers or space for something else.
Gently ease up bulbs with a garden fork and brush off excess soil, and trim off any excess foliage that is still clinging on. Check each bulb by squeezing them gently and discard any that are soft (and rotting).
Once lifted store bulbs somewhere dry for a couple of days to dry off and then wrap them in brown paper or newspaper and into a paper bag, cardboard box or even a gift bag will do, and keep them somewhere cool dry and dark until next Autumn.